Setting up player (Bird)
In this Blog I'll be setting up player for my Angry bird game in godot.


In this read I am setting up player character for my Angry bird type game in godot. This is a part of Angry bird made in Godot 4 series.
For Player I have made a new Node of type RigidBody2D and added Sprite2D with texture as "player" from assets folder and CollisionShape2D.
In the Player (RigidBody2D) node on Inspector panel expand "Input" section and turn on pickable. You'll need this for Player to interact with mouse. without this Player will ignore mouse.
Save the Player scene and add it in Level scene. play the game player will fall down and you'll hear the splash sound (If you have setup sound in water scene, refer previous blog in this series.)
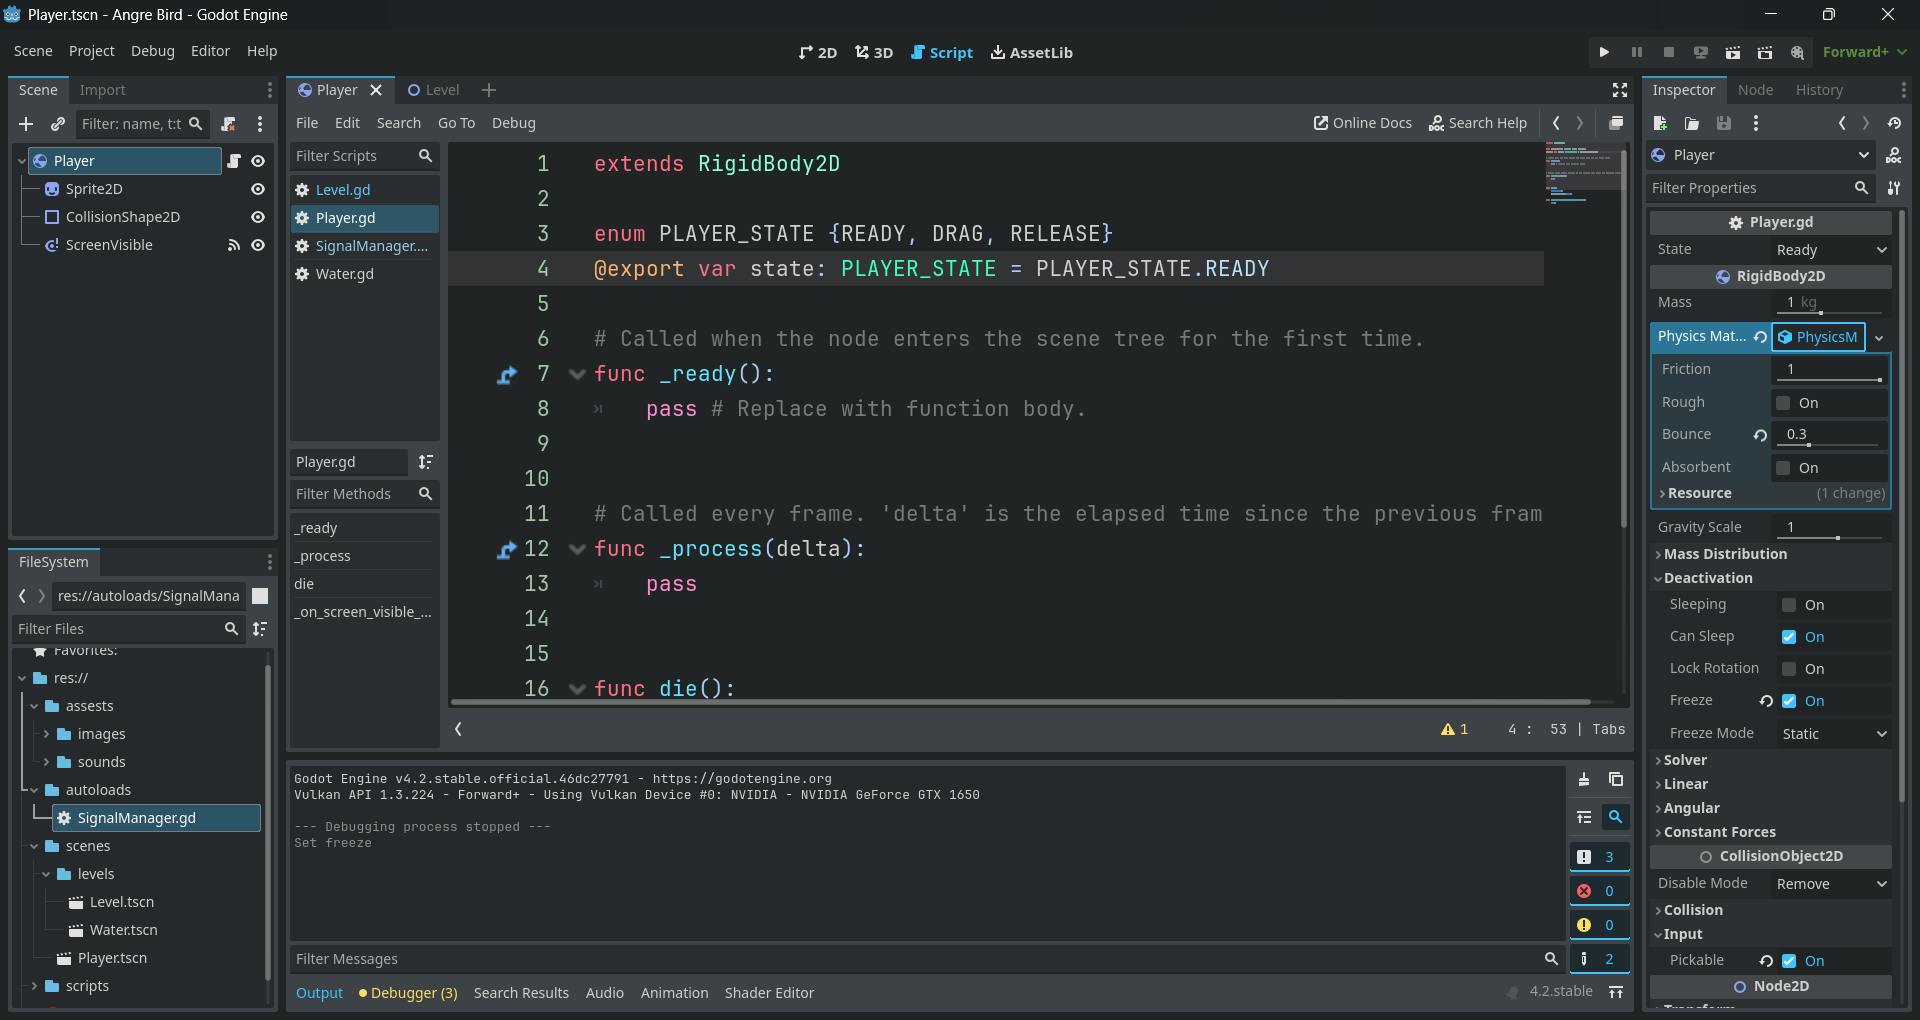
back in player scene you can also go ahead and turn on Freeze under "Deactivation" section as by default our player wouldn't be needing physics.
set new physics material and set 0.3 in bounce this will help our player to bouse a little you can play with bouse value to select one which you like or maybe set different bounce value to different player. Minimum is 0 which means no bounce and maximum is 1 which means too much bounce.
Note: Mass is another such property of RigidBody2D which you can play with and set different for different players. This is the mass you your player although this won't affect on gravity, but this could affect enemies and walls.
Now let's add a new node VisibleOnScreenNotifier2D we'll use this emit a signal when player is out of scene. Set it to cover player sprite.

Current progress ☝️Now let's go ahead and add script to Player node. and connect screen_exit signal of VisibleOnScreenNotifier2D to script, and write a die function (we can have pass in it for now) and we'll call that from `screen_exit` signal function.
Let's get away from player scene to level scene, Now in level we want our player to spawn in a exact location and for that we'll set a marker2D node in level scene and set that to location where we want our player to spawn. Now let's write code to spawn player in level, for that create script for you level and add a preload for player scene as well as node reference (one with $ sign) for PlayerSpawn and write a function for adding player in script.
func add_player():
    var playerNode: RigidBody2D = PLAYER.instantiate()
    playerNode.position = playerSpawn.position
    add_child(playerNode)
Call this from _ready() function of level script so that player is added when level is ready.
Before jumping back to player script lets add a autoload script to manage our signal, I'll call it SignalManager and I'll refer is as SM so if you see SM that means I am refereeing to signal manager. In this autoload script I'll add a signal player_dead and in level script connect this function to add_player function for now.
back in player script in the die function I'll add queue_free() and emit player_dead signal, Now run the level scene you will see player falling into water and respawning in player spawn position.
Now that player die, and respawning is working let get to the main functionality.
First check is Pickable and Freeze is turned on for player and also connect input_event signal from CollisionObject2D.
Player will have 3 states i.e. READY, DRAG and RELEASE. by default, player will be in Ready state (Freeze) on click it will be in drag and on release it will be in release state. to keep track of state will also have a state variable if you'll like you could make this export, but I don't think it's required.
We'll replace process with physics_process and add a update function that'll act as per the state also call the update function in physics_process so it regularly update as per state.
We'll create a logic function for each state and call it from update function as per the state.
let's work on update_drag function for when state is in drag mode. What we want is in drag state player position is same as mouse position and this only happens when player is in drag state, so for this we'll need few functions. i.e. detect_release and set_new_state
func set_new_state(new_state: PLAYER_STATE):
    state = new_state
    if state == PLAYER_STATE.RELEASE:
        freeze = false

func detect_release():
    if state == PLAYER_STATE.DRAG:
        if Input.is_action_just_released("drag"):
            set_new_state(PLAYER_STATE.RELEASE)
            return true
        return false

func update_drag():
    if detect_release(): return
    var gmp = get_global_mouse_position()
    position = gmp


func _update(delta):
    match state:
        PLAYER_STATE.READY:
            pass
        PLAYER_STATE.DRAG:
            update_drag()
        PLAYER_STATE.RELEASE:
            pass


func _on_input_event(viewport, event: InputEvent, shape_idx):
    if state == PLAYER_STATE.READY and event.is_action_pressed("drag"):
        set_new_state(PLAYER_STATE.DRAG)
With this now you should be able to click on player drag it across the screen and drop him into water and player will respawn in scene.
Drag player.
First setup few rules.
Player shouldn't directly jump to mouse position.
Player should be able to drag till a range I'll take that range as 60 pixel to the bottom and 60 pixel to the left.
let's work on first rule. To do that we are not going to place player in mouse position but we'll store the mouse click position as drag_start and player start position as start. now here is the formula to find new player position position = start + dragged_vector what's dragged_vector you ask, dragged_vector is the vector2 value of how much mouse has moved after clicking, we'll limit this for 2nd rule. now to get dragged_vector we'll use formula dragged_vector = gmp - drag_start.
Now for 2nd rule will just clamp the dragged_vector x and y limit.
var _start_position: Vector2
var _drag_start: Vector2
const MAX_DRAG_POSITION: Vector2 = Vector2(0, 60)
const MIN_DRAG_POSITION: Vector2 = Vector2(-60, 0)

func _ready():
    _start_position = position

func set_new_state(new_state: PLAYER_STATE):
    ...
    if state == PLAYER_STATE.DRAG:
        _drag_start = get_global_mouse_position()

## calculate the new position.
func get_update_drag_position(gmp: Vector2):
    var dragged_vector: Vector2 = gmp - _drag_start
    dragged_vector.x = clampf(
        dragged_vector.x,
        MIN_DRAG_POSITION.x,
        MAX_DRAG_POSITION.x
    )
    dragged_vector.y = clampf(
        dragged_vector.y,
        MIN_DRAG_POSITION.y,
        MAX_DRAG_POSITION.y
    )
    return dragged_vector + _start_position

func update_drag():
    ...
    var gmp = get_global_mouse_position()
    position = get_update_drag_position(gmp)
And now we have a better player how doesn't jump to mouse and is restricted.
Next, we'll add physics which will throw the player.
What you have learned in this read.
Use ENUM to make a basic state machine.
Update player behavior based on the current state.
Taking input and acting on them on rigid body 2D node.
Working with
get_global_mouse_position.Working with
clampffunction of godot